Magnification Software for Students with Low Vision
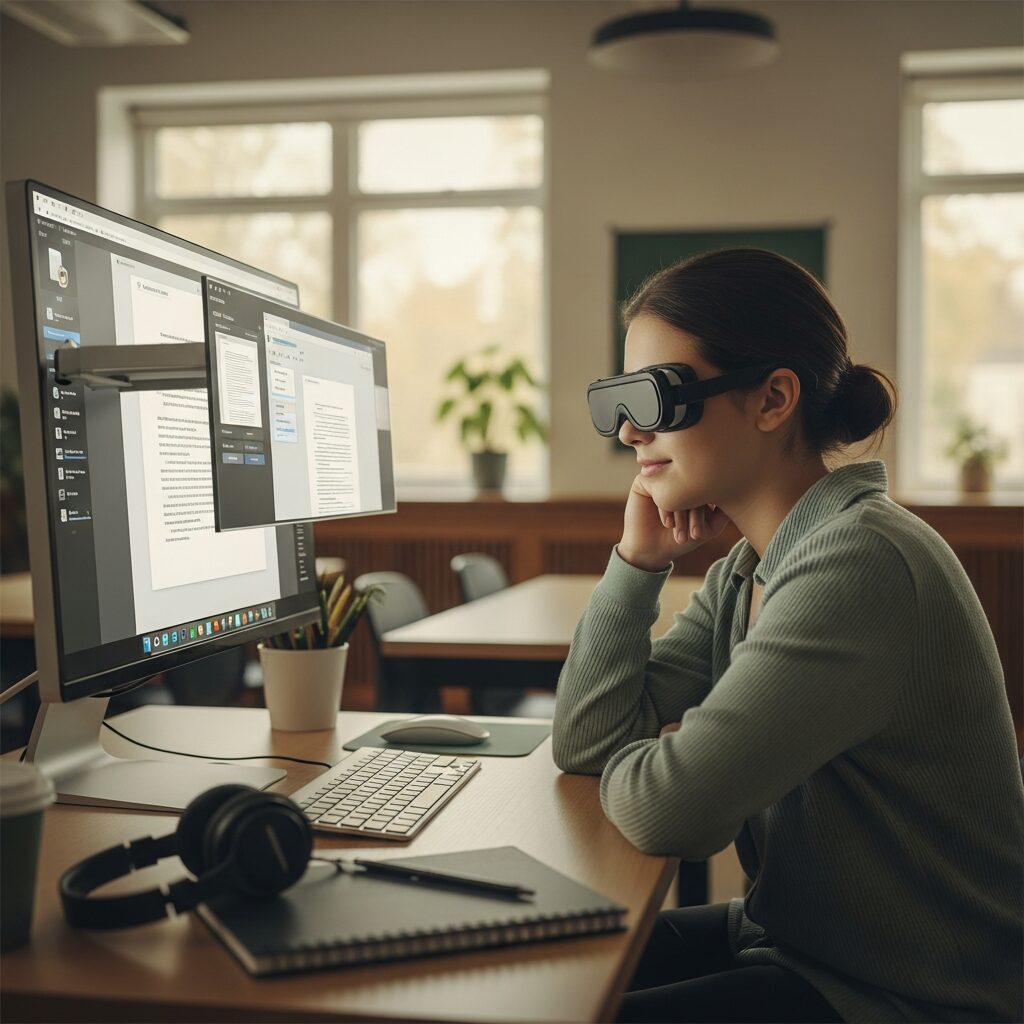
Watching a bright student lean inches from a screen, squinting to make out text the rest of the class reads easily, is hard. If that is your student or your child, here is the good news: the right magnification software can put the full digital curriculum back within reach, and you may not need to buy anything to get started.
Most students with low vision can begin with the magnification tools already built into their school’s computers. This guide walks through those free options, when it is worth investing in dedicated software like ZoomText, and how to set it all up so it actually helps in the classroom. It is one piece of the wider picture our teacher’s guide to assistive technology for students with low vision lays out.
How magnification software helps a student with low vision
Magnification software enlarges everything on the screen, including text, images, menus, and the cursor, so a student with usable vision can read digital material without straining. Unlike a screen reader, it keeps the visual experience intact, which matters for students who still read print and want to see charts, photos, and formatting.
It is the right fit when a student has enough functional vision to process what is on screen but cannot comfortably read text at standard size. Common signs include leaning close to the monitor, squinting, losing their place, or missing information in the corners of the screen.
Some students use magnification alongside a screen reader, switching between them for different tasks. Our overview of screen reading and magnification software explains how the two work together, and a good assistive technology assessment will sort out which combination fits a particular student.
Built-in magnification tools your school already has
Every major operating system ships with a capable screen magnifier at no cost. For many students with mild to moderate low vision, these are enough, and because they are already installed, there is nothing to buy or wait on.
Windows Magnifier is free on every Windows PC. It offers full-screen, lens, and docked views, keyboard shortcuts for zooming, and basic color inversion. Open it with the Windows key plus the plus sign.
macOS and iPadOS Zoom is built into every Mac and iPad. It provides full-screen or picture-in-picture magnification, plus a hover feature that enlarges whatever the pointer touches. That makes it useful for the many classrooms running on iPads.
ChromeOS Magnifier is built into Chromebooks, with full-screen and docked modes. This matters for the many schools standardized on Google Workspace and Chromebook carts.
These built-in tools handle magnification well, but most stop short of the advanced color enhancement, cursor tracking, and reading features that some students need.
Dedicated magnification software: ZoomText and MAGic
When built-in tools are not enough, dedicated software adds power and polish. Two names come up most often in schools.
ZoomText is the widely used standard for Windows magnification. It magnifies up to 36x, and higher in newer versions, with smooth, sharp text, plus color and contrast enhancement, cursor and pointer highlighting, and a camera magnifier for reading print pages. ZoomText Fusion combines magnification with a full screen reader for students who need both.
MAGic is an alternative Windows magnifier that pairs tightly with the JAWS screen reader, which helps for students already working in that ecosystem.
Dedicated software costs money and requires school licensing, so it earns its place when a student needs high magnification, extensive screen enhancements, or integrated reading that the free tools cannot match.
Built-in or dedicated: how to choose
The deciding factor is how much magnification and enhancement a student actually needs, not the price tag. Start with the free built-in tool and watch how the student does with real schoolwork for a week or two.
Choose built-in magnification if the student reads comfortably at moderate zoom, mainly needs simple enlargement, and does not rely heavily on color or cursor enhancements.
Choose dedicated software like ZoomText if the student needs very high magnification, benefits from advanced contrast and color modes, loses the cursor easily, or would gain from built-in reading support. When you are unsure, a low vision evaluation can match the student to the right level before the district spends money on licenses.
Setting up magnification software in the classroom
The software only helps if it is configured consistently everywhere the student works. Install and set the same magnification level, color mode, and shortcuts on every device the student uses, including the classroom desktop, laptop, and any shared lab machines, so there is no daily fight to reset preferences.
Loop in the IT department early. School-managed devices often block installations and setting changes, and getting magnification software approved and locked in usually takes coordination that is easiest to arrange through the student’s IEP or 504 plan.
Then spend time teaching the student the keyboard shortcuts to zoom, pan, and switch modes. A student who can adjust their own magnification for a math worksheet versus a reading passage is far more independent than one waiting for an adult to change settings.
When magnification software is not the answer
Magnification is not right for every student, and it is worth being honest about that. If a student’s vision is limited enough that even high magnification means seeing only a few letters at a time, reading becomes slow and exhausting, and a screen reader or braille may serve them better for heavy reading. And when the barrier is printed material a student cannot get in a digital file, a CCTV or document camera often does the job that on-screen magnification cannot.
Magnification also slows everyone down: a zoomed-in screen shows less at once, so navigation and reading take longer. That means timed tests and assignments need adjusted timing built into the student’s accommodations, or the tool meant to help becomes a penalty.
Get help choosing the right magnification setup
The right magnification software can be the difference between a student struggling through digital lessons and keeping pace with the class. If you are not sure which tools fit your student, our team at New England Low Vision and Blindness can help.
We provide magnification software evaluations and hands-on training to match each student with the setup that works for them. Schedule a No obligation consultation to find the right solution.
Frequently Asked Questions
What is the best magnification software for students with low vision?
For most students, the best starting point is the free magnifier built into their school computer: Windows Magnifier, macOS Zoom, or the ChromeOS magnifier. Students who need higher magnification or advanced color and reading features often move up to ZoomText, the most widely used dedicated option in schools.
Is ZoomText or a built-in magnifier better for school?
Built-in magnifiers are free and handle moderate needs well, so they are the right first step. ZoomText is better when a student needs magnification above what built-in tools offer, relies on advanced contrast or cursor tracking, or benefits from integrated reading support. A low vision assessment can confirm which level fits.
Can a student use magnification software and a screen reader together?
Yes. Many students with low vision use magnification for tasks where they want to see the screen and a screen reader for heavy reading or when their eyes tire. Software like ZoomText Fusion combines both in one program.