Classroom Lighting Accommodations for Students with Low Vision
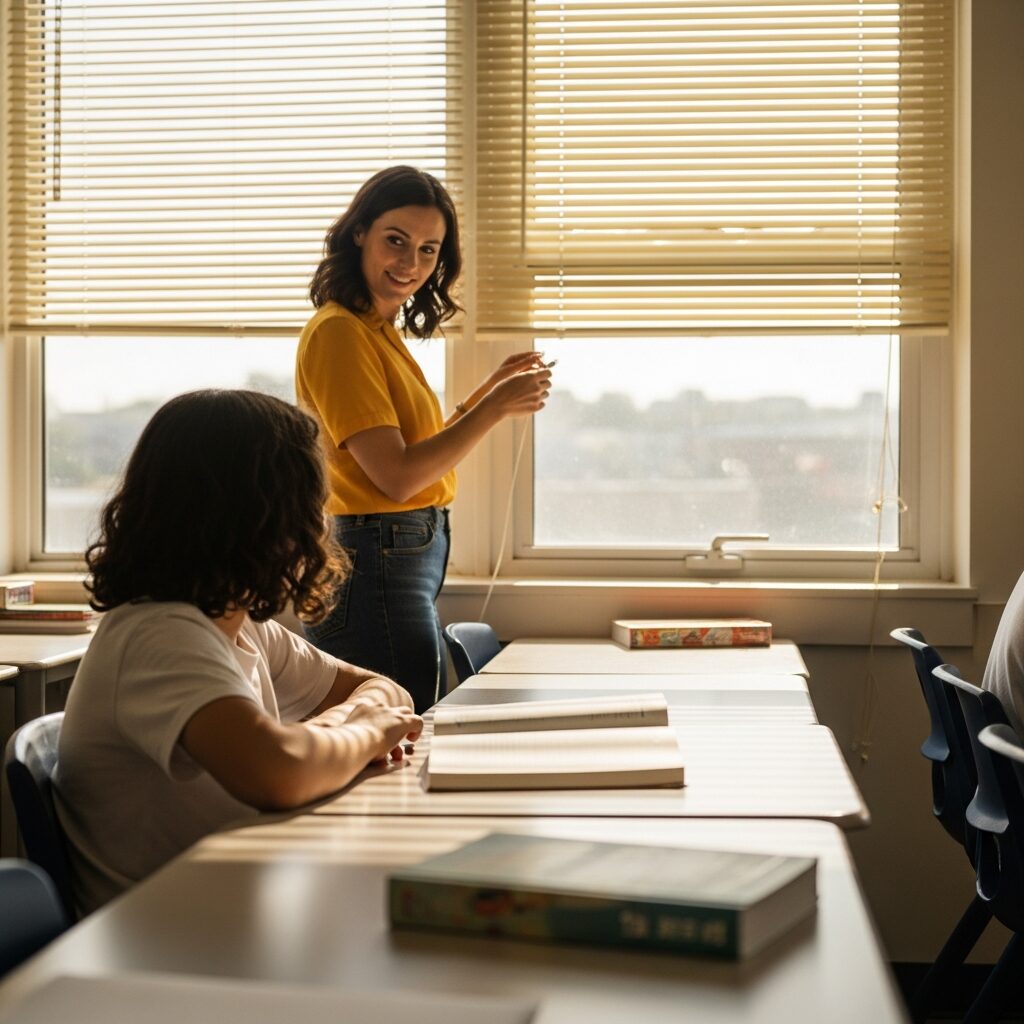
If you are trying to help a student with low vision do better in the classroom, lighting is one of the first things worth looking at. It is also one of the most overlooked. The right lighting can make reading faster and far less tiring. The wrong lighting can cause headaches, eye strain, and frustration that has nothing to do with how capable a student is.
Here is the encouraging part: classroom lighting is usually the highest-impact, lowest-cost accommodation you can make. You rarely need to rewire a room or buy expensive equipment. A single adjustable desk lamp, a set of window blinds, or switching off one bank of overhead lights can change a student’s whole day.
This guide walks through what actually works: task lighting at the desk, overhead and ambient light, natural light from windows, and how lighting needs shift depending on a student’s specific condition.
Why Lighting Matters for Students with Low Vision
Good lighting improves the two things that matter most for usable vision: contrast and comfort. With enough of the right light, edges look sharper, text stands out from the page, and small details become easier to pick out. With poor or harsh light, the eyes work harder and tire faster, which shows up as fatigue long before the school day is over.
There is an important difference here: “enough light” and “the right light” are not the same thing. A room can be bright and still be hard to see in, because the problem is often glare, flicker, or uneven light rather than the amount of light.
Standard classroom lighting is designed for a room full of students with typical vision, not for a student with low vision. Overhead fluorescent fixtures can flicker, create hot spots of glare on desks and whiteboards, and leave dark corners where light does not reach. That is why a room that looks perfectly well lit to a teacher can still be exhausting for one student in it.
Start With Task Lighting at the Desk
If you change only one thing, add task lighting at the student’s desk. A focused, adjustable light aimed at the work surface is usually the single most effective and least expensive lighting accommodation, because it puts control right where the student reads and writes.
Look for an adjustable desk lamp with a flexible arm so the student can aim light exactly where it is needed and move it out of the way when it is not. Position the light on the side opposite the writing hand, or slightly behind the shoulder, so the student’s hand does not cast a shadow across the page.
LED lamps are usually a better choice than older fluorescent or incandescent options. LEDs run cool, do not flicker the way aging fluorescent tubes can, and last for years. Many LED lamps also let you adjust color temperature and brightness, which matters because the ideal setting is different for every student.
Color temperature is worth understanding. Warmer light (around 2700K to 3000K) feels soft and yellow, while cooler “daylight” light (around 5000K to 6500K) is bright and blue-white and often makes fine print and detail work easier to see. Let the student try a few settings and tell you which feels clearest, rather than guessing.
For classrooms without a nearby outlet, a rechargeable battery-powered lamp or a clip-on book light gives the same benefit without running a cord across a walkway. Adjustable brightness matters too, since the same student may want more light for reading small print and less for working on a screen.
Managing Overhead and Ambient Light
Overhead lighting sets the tone for the whole room, and small changes here help every student, not just one. The goal is even, comfortable light without harsh glare or flicker.
If the overhead fluorescent lights are the problem, diffuser panels or fabric light filters that fit over the fixtures soften harsh glare and cut down on flicker. Where a school is able to update fixtures, replacing older tubes with LED panels usually produces more even, flicker-free light across the room.
Dimmer switches give you room-wide control, so you can turn the light up for detailed work and down when it is causing discomfort. Watch for dark corners and uneven pools of light, since a student moving from a bright area to a dim one has to let their eyes adjust each time, which is tiring.
Screens and projectors add another wrinkle. When a projector or smart board is in use, resist the urge to switch off every light, because a pitch-black room makes it hard for a student with low vision to see notes, keep their place, or move safely. Keeping a soft light on near the student’s desk usually solves this without washing out the screen.
Controlling Window and Natural Light
Natural light from windows is genuinely helpful, right up until it becomes glare. The same window that brightens a page in the morning can throw blinding reflections across a desk in the afternoon, so window light needs managing, not just welcoming.
Adjustable blinds or shades are the core tool. They let you soften direct sunlight, block glare during the worst part of the day, and still let useful daylight in. Where the student sits matters too: a desk angled so the window is to the side, rather than directly in front of or behind the student, avoids both direct glare and a bright background that makes the teacher and board hard to see.
Here is a detail that is easy to miss: the sun’s angle changes throughout the year. A seat that gets gentle, indirect light in September can catch harsh, low afternoon sun by November as the sun drops in the sky. It is worth rechecking a student’s lighting a couple of times across the school year rather than setting it once and forgetting it.
Finally, watch for reflective surfaces near windows. Glossy floors, laminated posters, glass frames, and shiny desktops can all bounce sunlight into a secondary source of glare, even when the window itself is handled.
Matching Lighting to the Student’s Condition
This is where general advice runs out, because different eye conditions call for very different lighting. Some students need much more light, and others need much less. The single most common mistake is assuming that brighter is always better, when for some students brighter actively makes seeing harder.
Light-Sensitive Conditions: Albinism and Aniridia
Students with albinism or aniridia are often highly sensitive to light, so the goal here is usually less light, not more. Reduced overhead lighting, tinted lenses, brimmed hats or visors indoors, and seating away from windows all help. Avoid aiming task lighting directly at the student’s face or work surface, and let them position any lamp to bounce or soften the light rather than shine straight up at them.
Cataracts and Corneal Conditions
Cataracts and many corneal conditions scatter incoming light, which reduces contrast and creates glare. These students often benefit from more targeted task light to boost contrast, paired with careful anti-glare measures like diffusers, matte surfaces, and blinds. The balance is delicate: they need more useful light, but they are also more bothered by glare, so aim light onto the page rather than into the eyes.
Cortical/Cerebral Visual Impairment (CVI)
For students with CVI, the visual system processes information differently, so lighting is less about brightness and more about attention. Backlighting a target, such as a lightbox or a device screen, can help a student notice and respond to it. Reducing competing visual clutter and busy, bright backgrounds around the target is just as important as the light itself.
Retinal Conditions: Macular Degeneration and Retinitis Pigmentosa
Many retinal conditions, including macular degeneration and retinitis pigmentosa, respond well to strong, even task lighting for reading and detail work. Consistency matters here too: students with retinitis pigmentosa often adapt slowly when moving between bright and dim areas, so steady lighting across the classroom reduces the constant readjustment that wears them out.
When Lighting Changes Are Not the Whole Answer
Lighting is a powerful starting point, but it is honest to say it will not solve everything on its own. It works alongside the other classroom accommodations for students with low vision that support a student through the school day. If a student is still straining after you have dialed in task lighting, controlled glare, and matched the setup to their condition, the next step is usually magnification, large-print materials, or assistive technology, not more light.
And here is something you will rarely hear said plainly: for some students, the best lighting change is turning lights off. For a light-sensitive student, adding brightness makes things worse, and a dimmer, glare-free space is the accommodation. That is exactly why lighting is not a one-size-fits-all fix.
Lighting adjustments also work best alongside a functional vision assessment from a teacher of students with visual impairments or a low vision specialist. An assessment identifies what a specific student can see, under what conditions, and points you toward the lighting and tools most likely to help, rather than trial and error.
Take the Next Step
If you are not sure where to start, start with an assessment. The team at New England Low Vision and Blindness can evaluate a student’s functional vision and recommend the specific lighting, magnification, and independent living services that fit their needs, whether that means more light, less light, or a different setup entirely.
Ready to build a classroom that works for your student? Schedule No-Obligation Consultation to talk through your student’s lighting and vision needs with a specialist. It is a simple next step, and it often turns a frustrating room into one where a student can finally focus on learning.
Frequently Asked Questions
What is the best desk lamp for a student with low vision?
Start with an adjustable LED desk lamp that has a flexible arm, so the student can aim the light exactly where they read and write. LED lamps run cool, do not flicker, and many offer adjustable brightness and color temperature, which lets the student find the setting that gives them the clearest, most comfortable view. Position it on the side opposite the writing hand to avoid casting shadows on the page.
Are fluorescent lights bad for students with low vision?
Not always, but aging or poorly maintained fluorescent lights can flicker and create glare, which triggers eye strain, headaches, and fatigue for many students with low vision. If a fixture flickers, have it repaired quickly, and add diffuser panels or light filters to soften the glare. Where possible, replacing older fluorescent tubes with LED panels gives more even, flicker-free light.
Should a classroom be brighter for a student with low vision?
Not necessarily, because it depends entirely on the student’s condition. Students with retinal conditions like macular degeneration often need strong task lighting, while students with albinism or aniridia are light-sensitive and usually need less light, not more. The right answer comes from what the student finds most comfortable, ideally confirmed by a functional vision assessment.